Many people attempt to create specific shapes on rugs. This can be challenging as yarn tends to be fluffy and spread around your tufted lines instead of staying straigt and neat.
If you want to learn some tips and tricks for taking your tufting game to the next level by creating clean and crisp lines in your rugs then keep reading. This blogpost lists out a few tips that will help you keep your lines clean!
Filling
First thing to says is that the first lines always spread, as soon as you will start filling in, you will notice that the spreading is less. The more dense your rug is, the less space the yarn has to spread.
Trimming
Shorter hairs cannot spread, as they are too short to do so. It can therefore help to trim the yarn at the borders of your shape. It is often easiest to do that before you start of with the surroundings.
Outlines
If your design allows is creating darker outlines makes the different sections really pop. Try out different thickness of lines.
Choosing A Direction To Tuft In
This is a really important step of the tufting process because the direction that you choose to tuft in will be visible on your final rug. If you choose the wrong direction then your rug won’t look as clean or crisp.
You want to fill any larger shapes on the rug and the background on the rug in one direction. A vertical direction is a good choice if you are unsure of which direction to choose. You just want to make sure that you use the same direction throughout the whole process to avoid your rug looking messy.
Shearing
Your rug will allways look more clean after a good shear. A good option is to glue and finish the back of the rug before you begin shearing. This means that the raw edge of the fabric does not get in your way during the shearing process.
Our 220V rug shearing machine is a great choice to use in the shearing process. Take the machine and run it along the front side of the rug to even out the top. The top of rug will have an even level and your rug will come out looking like a high-quality piece.
Sculpting
We recommend that you move section by section when you are sculpting a rug. Tuft and sculpt one section of the rug before you move on to the next section. This will make sure that when you are trying to sculpt certain corners or cracks, you will be less likely to tear a hole in your tufting fabric.
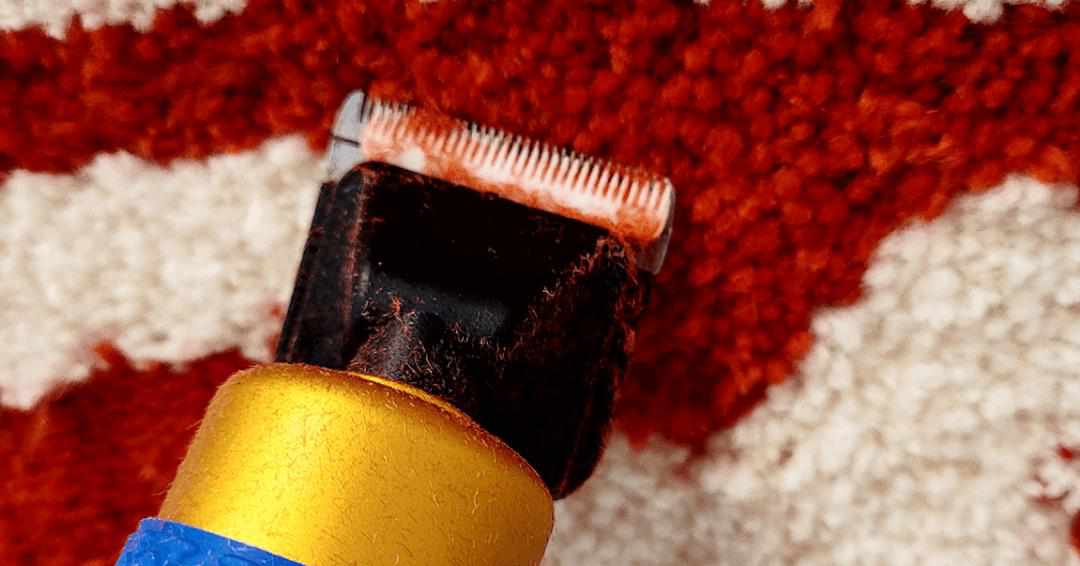
Our Carpet Carving Clippers are an excellent tool to use in the carving stage of rug creation. The clippers help you create finishing touches to your rugs and bring them to a whole new level. By Carving in between the different sections you really can prevent "bleeding", where your yarn tends to flow in to another section. this because you make the piles at the border shorter than the rest.
Use the tool at around a 45° angle.
If you want to make any shapes or letters stand out then grab your Carpet Carving Clippers and outline the background colour of each shape. Then you can grab a pair of scissors and make the outline more prominent to make the shapes really pop on the rug.
We hope that these tips and tricks help you to create clean and crisp lines on your tufting designs. Tufting is a fun and engaging DIY project that you can undertake to add some new textures to your home. We have no doubt that after you implement these small tricks you will be a tufting pro and your rug designs will stand out.
References:
https://www.curbed.com/2020/12/rug-tufting-tiktok-design-trend-covid-19.html
https://www.youtube.com/watch?v=Gy7HLKC9kaw&ab_channel=AJMAKES


